Showing posts with label Ghost. Show all posts

Finalize Cloned Disk

After I have cloned a disk from the sample disk. Next, I’m going to reboot the cloned disk on another PC. Then, Sysprep will regenerate the computer’s security ID (SIDs) and initialize Mini-setup to prepare the Operating System which is the topic I’ll cover in this post.
Note: Some steps in this post may not be the same with yours. It depends on the Answer file. If you have configure it in the Answer file, it won’t ask again at here. But if the configuration in the Answer file is error, it’ll ask you again. For instance, if you type wrong product key, it will show the error and let you enter again at this step.

Step-by-step

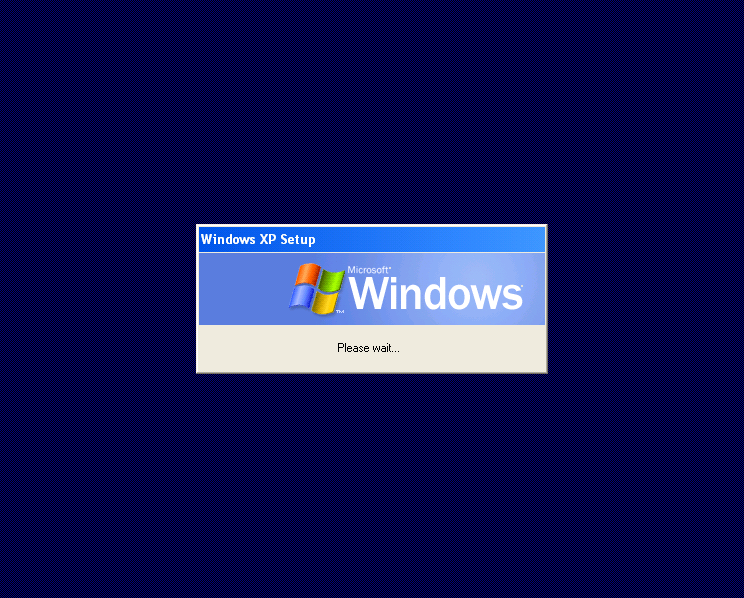
  1. When you boot the cloned disk first time, you’ll see the screen like the figure below.
    Windows XP Setup
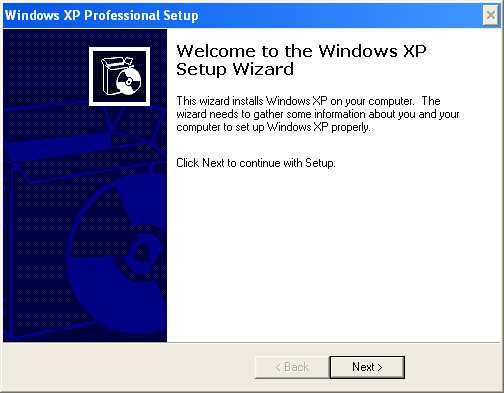
  2. On Windows XP Professional Setup, click Next.
    Windows XP Professional Setup
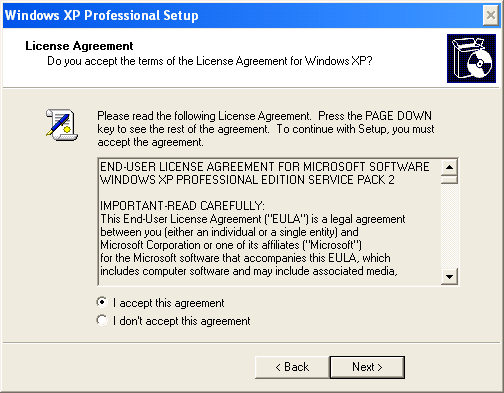
  3. On License Agreement, select “I acccept this agreement”. Click Next.
    License Agreement
  4. On Regional and Language Options, configure keyboard language and standards language. Click Next.
    Regional and Language Options
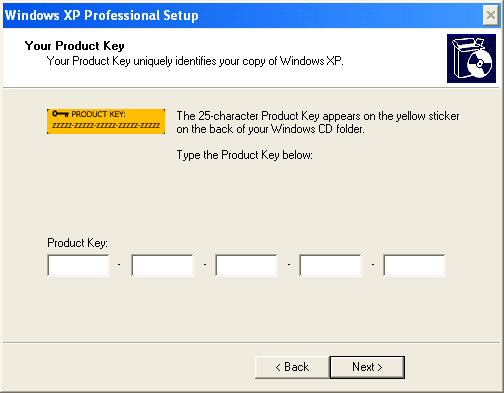
  5. On Product Key, enter the an unique product key of Microsoft Windows XP. If you have single product key which can be used in many computers, you can configure the product key in the answer file and you don’t have to enter on each computer anymore. Click Next.
    Enter Product Key
  6. On Computer Name and Administrator Password, enter the Computer Name and specify the administrator’s password. Click Next.
    Enter Computer Name and Administrator Password
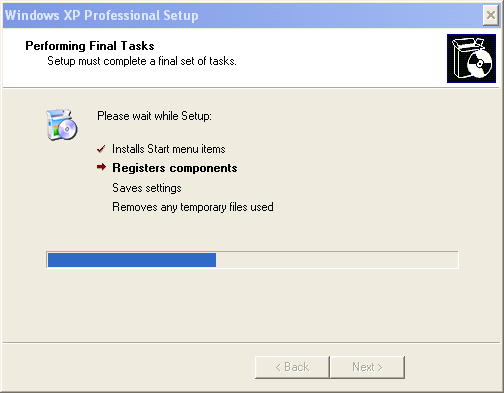
  7. On Performing Final Tasks, waiting Sysprep to process.
    Performing Final Tasks
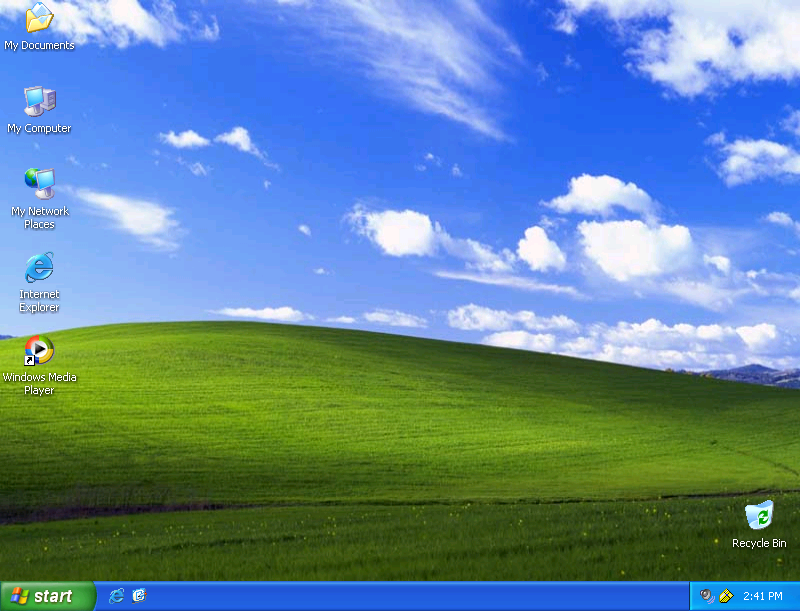
  8. That’s it. The computer is finished cloning and ready to use in production.
    Finished Clone Windows XP

Duplicate Disk with Norton Ghost

In this post, I’ll show you how to clone a disk to disk using Norton Ghost. From last post, I have run Sysprep tool to prepare the disk for cloning. This is just an example so I’ve attached another disk to this computer and I’m going to clone disk to disk. Then, I’ll get the cloned disk to attach to another PC and run Mini-setup which will be show in the next post.


If you’re going to apply this tutorial in a corporate, you should clone the sample computer’s disk to an image file and store it on a file server (or any place on the network). When you want a new computer, you simple restore image file from the file server through network without touching any hardware device.

Requirement

  • Norton Ghost software

Step-by-step

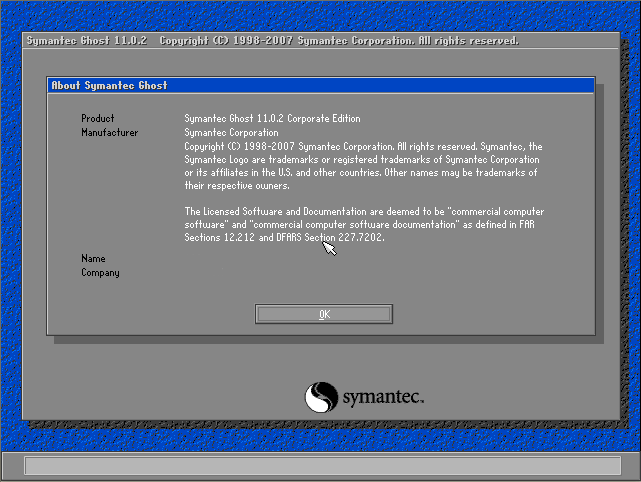
  1. Booting the PC in DOS and run Norton Ghost. Click OK
    Note: You need Norton Ghost since it is a licensed software, I can’t distribute it. If you already have one, you can create an emergency diskette to boot into DOS mode.
    Norton Ghost
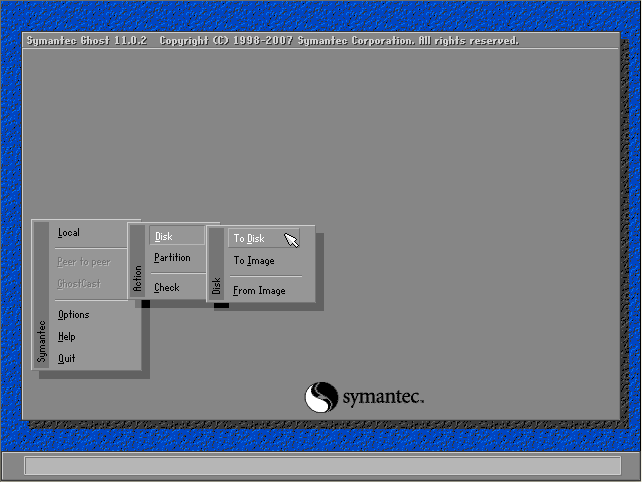
  2. Perform Disk to Disk operation. Select Local -> Disk -> To Disk.
    Perform Disk to Disk Operation
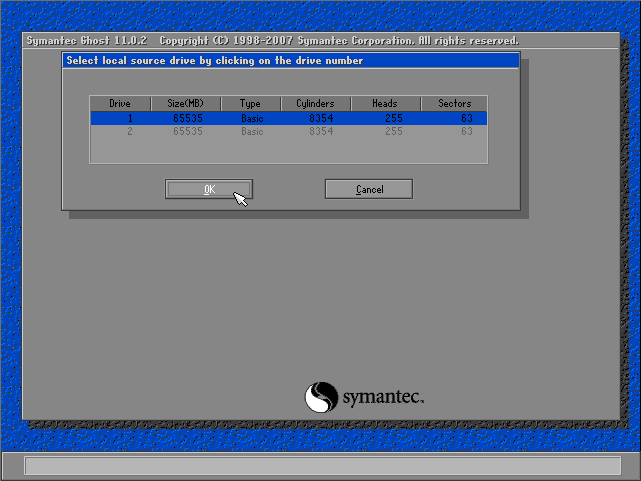
  3. Select Source Drive. Click OK.
    Select Source Drive
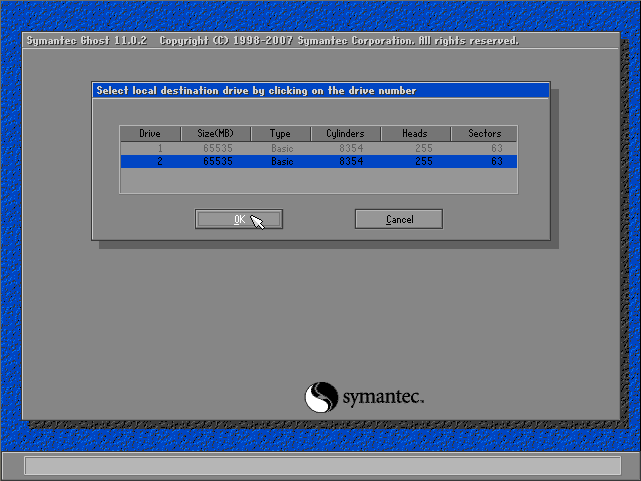
  4. Select Destination Drive. Click OK.
    Select Destination Drive
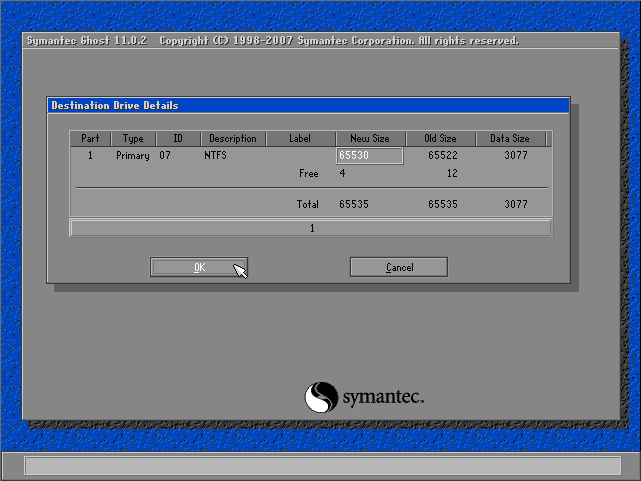
  5. On Destination Drive Details, click OK.
    Destination Drive Details
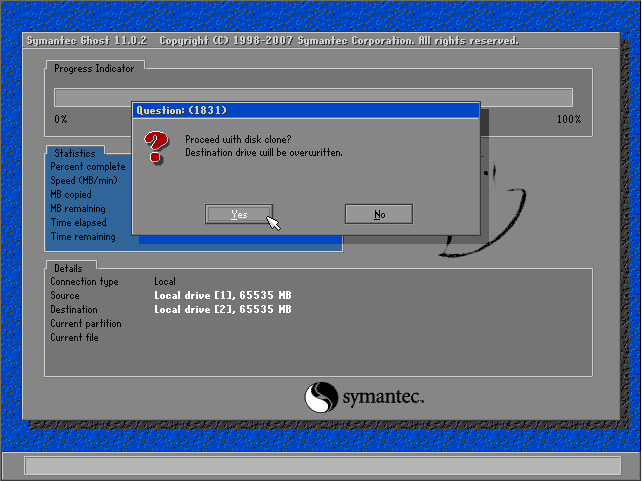
  6. The message notifies you that data on the destination drive will be overwritten. Click Yes.
    Destination will be overwritten
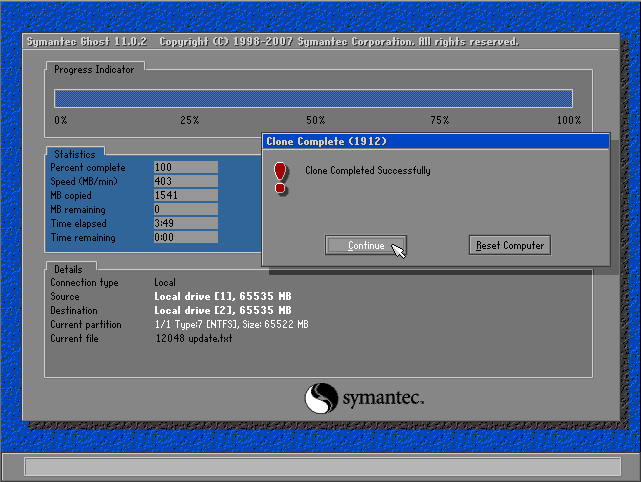
  7. The clone is finished. Next, I’ll shutdown the PC and detach the cloned disk to attach to another PC and run Mini-setup which I’ll show in the next post.
    Clone Complete

Introduction

If you are a corporate administrator or an IT staff, you may have confront a situation that you have to install and setup Windows XP on many computers which all computers have identical hardware configurations. What will you do? Go to each computer, sit and manually install Windows XP? If only a few computers, it’s OK to do that. It would takes few hours to complete that. But what if there are more than 10 computers or 100 computers waiting you to install and setup. That would be painful to do that way.

Prepare Source for Disk Duplication

In this post, I’ll show you how to create an Answer file for using when setup Windows after a computer is cloned. And run Sysprep tool to prepare a computer to be a sample computer (source disk) for cloning.


The Answer file should contains only general configuration not unique value on each computer. For instance, if you’re going to deploy the image to all computers in the same time zone, it is good to configure time zone in the answer file so that you don’t have to set time zone on each computer after cloned them. But if you’re going to deploy the image in different time zone, you should not configure time zone in the answer file.

Step-by-step

  1. Install Windows XP, update patches and setup the basic applications on the sample computer.
    Prepare Sample Computer
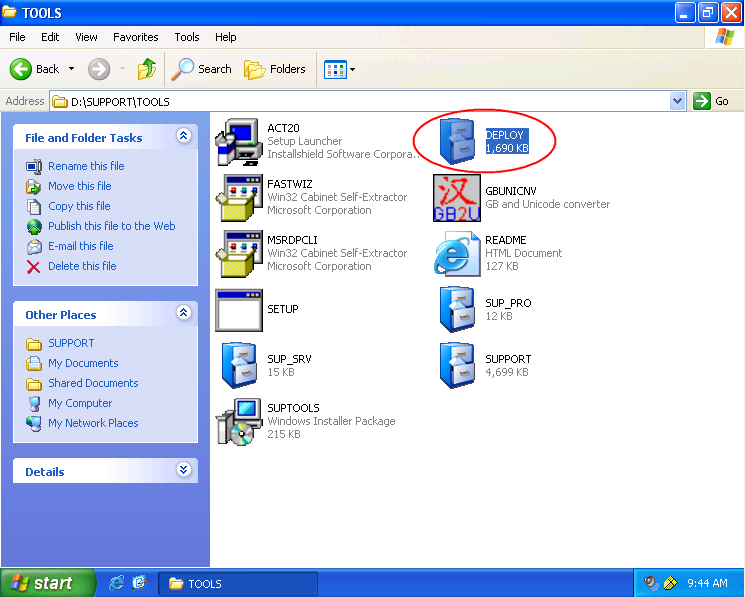
  2. Extract Sysprep tool. Insert the Windows XP CD. Navigate to “CD-Rom DriveSUPPORTTOOLS” and extract deploy.cab to C:Sysprep. If you don’t have Windows XP CD, you can download the Sysprep tool from Microsoft.
    Note: You have to use the Sysprep tool version according to Windows version. For example, you should not use Sysprep for Windows XP on Windows Server 2003.
    Extract Sysprep
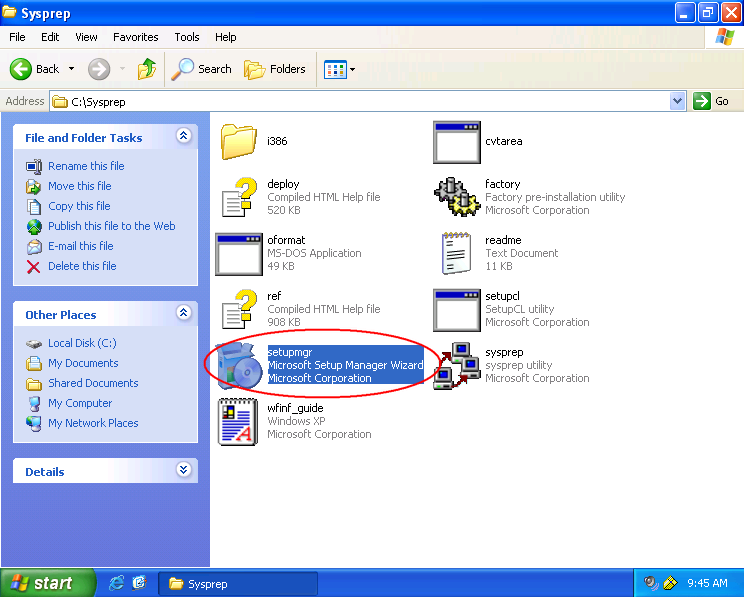
  3. Run Setup Manager to create an Answer file. Double-click on setupmgr.exe.
    Run Setup Manager
  4. On Welcome to Setup Manager,click Next.
    Welcome to Setup Manager
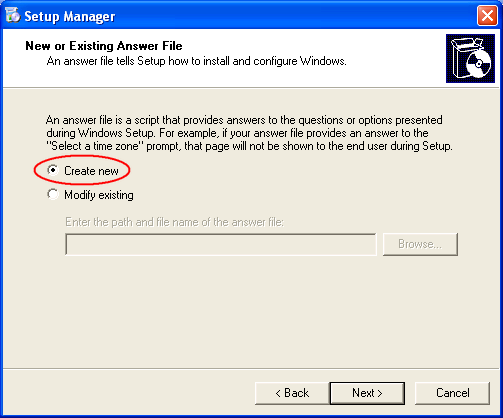
  5. On New or Existing Answer File, select Create new. Click Next.
    New Answer File
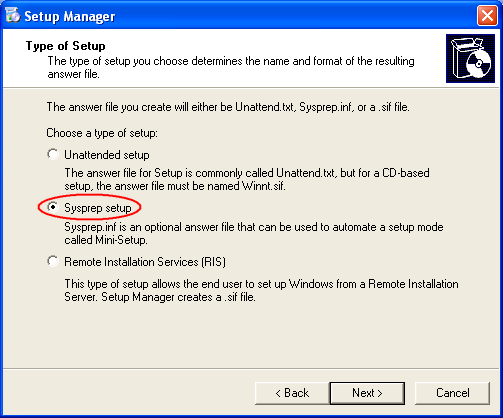
  6. On Type of Setup, select Sysprep setup. Click Next.
    Sysprep setup
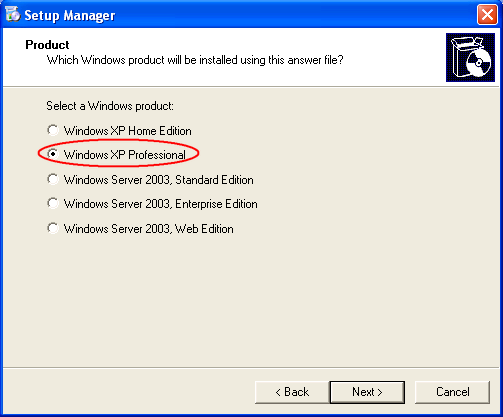
  7. On Product, select Windows XP Professional. Click Next.
    Select Windows XP Professional
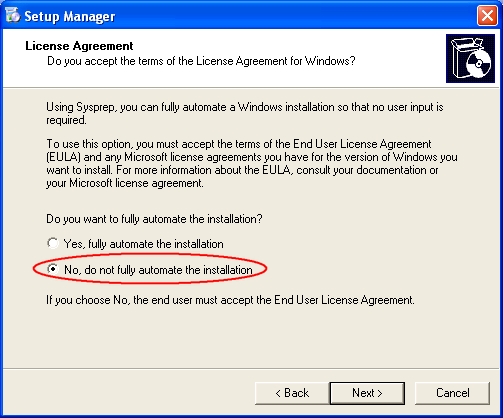
  8. On License Agreement, select No, do not fully automate the installation. Click Next.
    License Agreement
  9. Now you can configure the general configuration in your environment. I’ll show sample configuration.
    On Name and Organization, enter the Name and the Organization.
    Name and the Organization
  10. On Time Zone, select the time zone.
    Select Time Zone
  11. On Product Key, enter the Windows product key if you have Windows corporate key (one key can be installed on many computers). If you have an unique key on each computer, leave this empty.
    Enter Product Key
  12. On Computer Name, select Automatically generate computer name so that each computer after cloned and run sysprep, it’ll has unique computer name (Auto-generated name).
    Set Computer Name
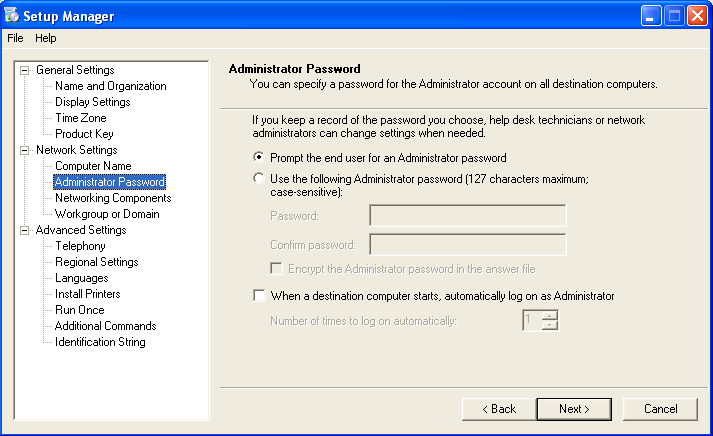
  13. On Administrator Password, leave as default.
    Administrator Password
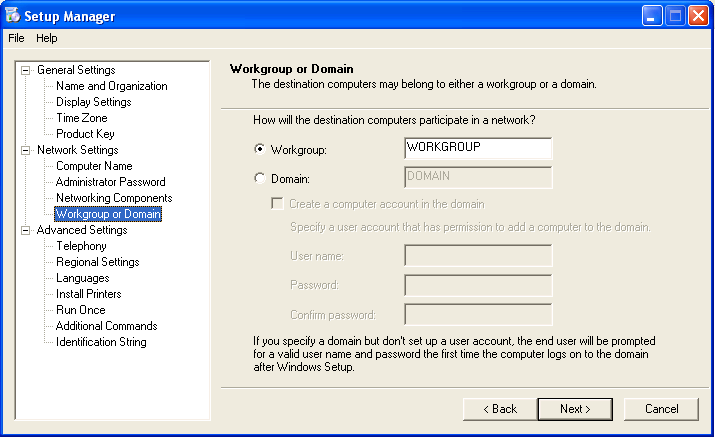
  14. On Workgroup or Domain, leave as default.
    Select Workgroup or Domain
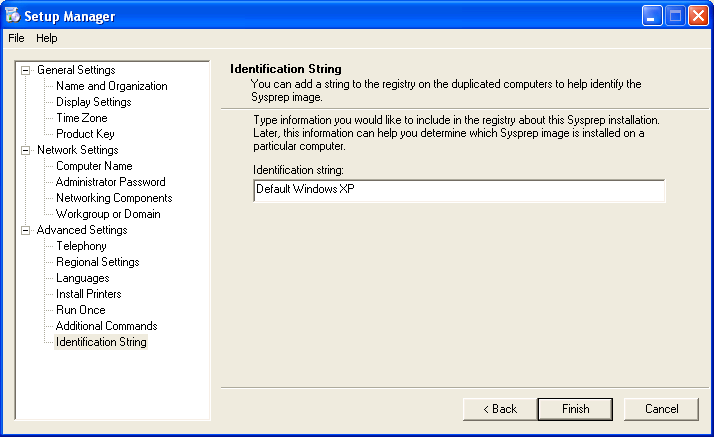
  15. On Identification String, give some name to identify this sysprep image. It’ll keep this information in the registry so you’ll know that this computer was cloned from which Sysprep image. Click Finish.
    Set Identification String
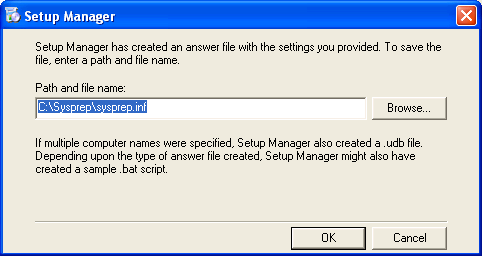
  16. Save the .inf file. This is the Answer file that you’ve configured. Save it in the same folder and click OK.
    Save Answer File
  17. After the Answer File has been saved, click Cancel to exit Setup Manager
    Exit Setup Manager
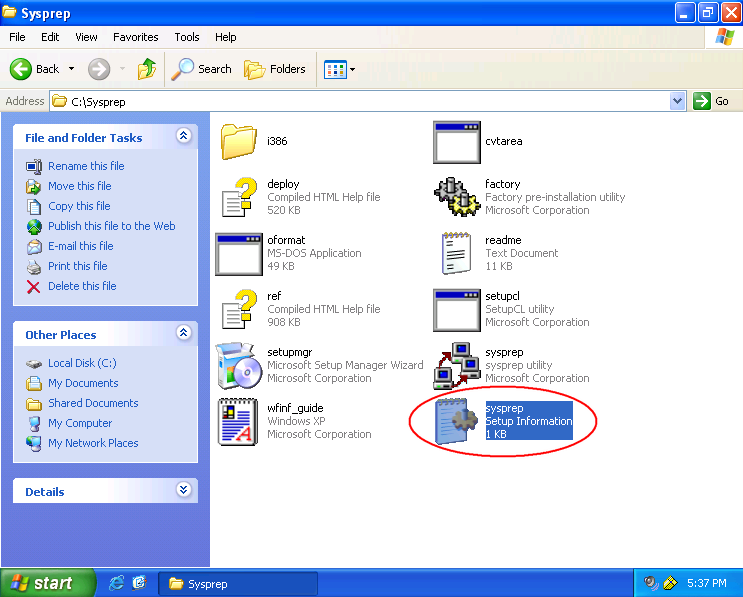
  18. You noticed the Sysprep’s Answer file has been created in Windows Explorer.
    Sysprep's Answer File
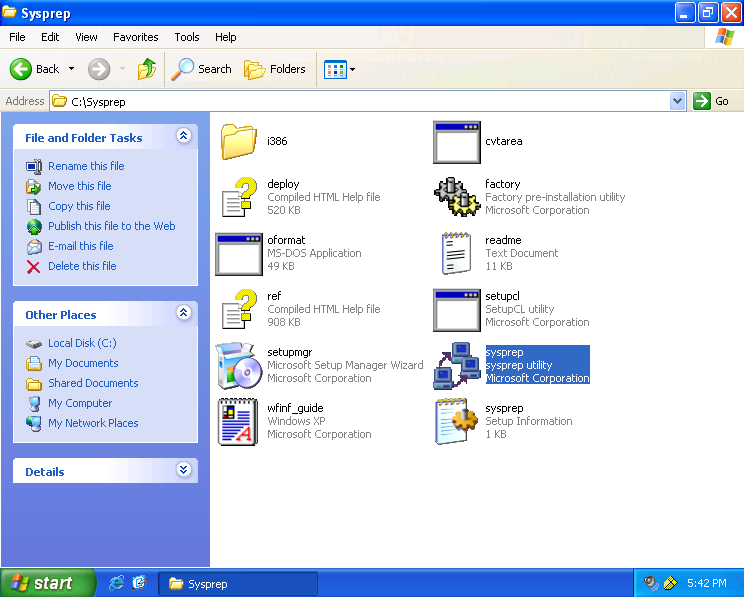
  19. Next, let’s prepare this computer as a sample computer for cloning by run Sysprep.exe.
    Run Sysprep Preparation Tool 2.0
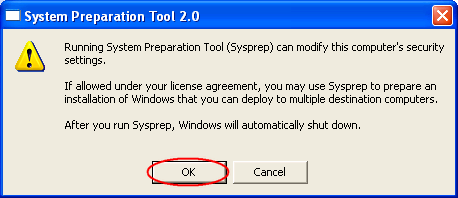
  20. It shows a warning message. Just click OK.
    Sysprep Preparation Tool 2.0
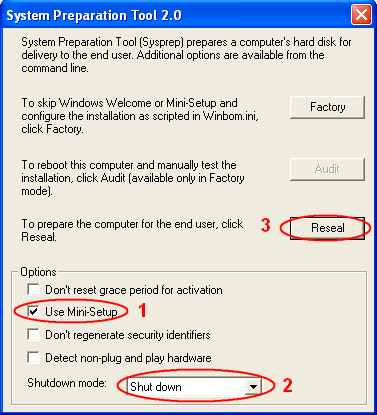
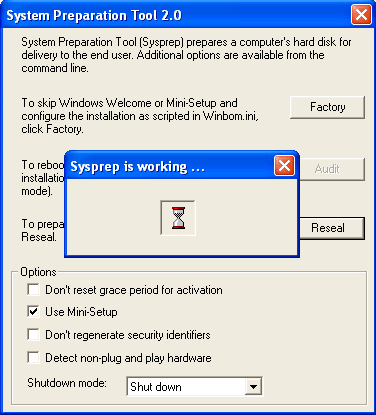
  21. To make Sysprep use Answer file after cloned, check on Mini-Setup. Select Shutdown mode to Shutdown. Click Reseal.
    Reseal
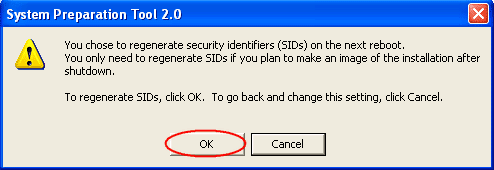
  22. It shows a warning message again that after reboot the security identifiers (SIDs) will be regenerate. This is what we want after clone the disk. Click OK.
    Warning regenerate SIDs
  23. Sysprep is working.
    Sysprep is working
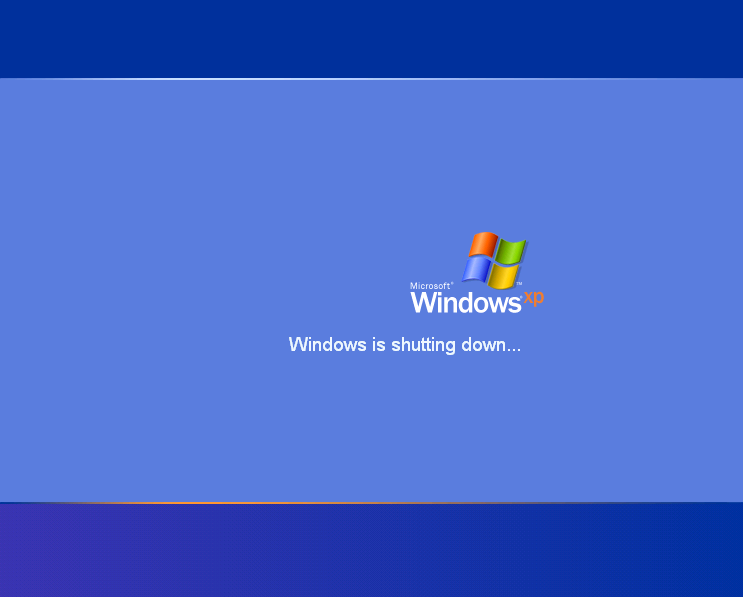
  24. The sample computer is shutting down. After the system shutdown, its disk can now be cloned to other disk now. Next post, I’ll show how to clone a disk to disk using Norton Ghost.
    Exit Setup Manager

Creat XP ghost image working on all computers

Posted by Faheem Qureshi | 12:15 PM | | 0 comments »

Hi all
i found a very nice program that has english GUI and makes syspreping
(then ghosting) of windows XP very easy and automatic.and the result works with
almost all kind of mainboards.

Needs:
--------
System Preparation Assisted Tool:At his time Spat6.0.0beta2 can be downloaded
from link below (9.83MB):
http://www.mediafire.com/?zumzhnmmljg

SkyDriver : At this Time SkyDriver 9.9 can be downloaded from links below:

http://gostep.info/skydriverxp-v9-9-bo-driver-moi-nhat-cho-dan-lam-ghost-auto-driver.html

=================================================================

1.This tutor will work just for drive C: ,So Install your favorite Windows XP
(sp2 or sp3) in drive C: (No different if you install or not install your
system drivers).

2.Istall all your favorite programs like Office,FireFox,7zip, and ... and test
them to be sure they are working.

3.Install any windows updates that you need.

4.Make all your favorite customizations in your system.

5.Delete all unneeded files like files in temp folder and ...then Empty Recycle bine.

6.Extract Spat6.0.0beta2.exe some where forexample your desktop.

7.Extract SkyDriver to C:\Sysprep directory.

8.Make your favorite Back ground picture (800x600 0r 1024x768 24bit JPG) ,Name it
setup.jpg and put it in C:\Sysprep\ directory. This is the background picture that
you will see after applying the final ghost image to any computer,during first Boot.
(See pic_01.jpg from attachment).

9.You can put more files inside C:\Sysprep\ directory like directx and ...that will
be run during 1st boot (If you give the assosiated commands that i will tell about
them during tutor) and will be added to your installed system automatically.

10.Run Spat6.0.0beta2.exe,If every thing is ready to begin,it will show message ,OK it.

11.The main page of Spat6 will be shown (See pic_02-A).Do as below:

_ A _ Go to general tab select all.

_ B _ click on "background picture" ,Then select C:\Sysprep\setup.jpg ,then click
preview to show your picture ,then OK.

_ C _ Go to Interface tab and in "Run before mini-setup" section give infor mation
below (as you see in pic_02-:):
C:\Sysprep\DrvS3.exe
Note: as i told in step 9 you can put other tools in C:\Sysprep\ directory
that as you see in pic_02-B,i have typed commands for thee other programs to
be integrated to our deployed system and will be run during mini setup.but
for this tutor you do not need them.

_ D _ Go to Reseal tab select your favorites.

_ E _ Back to General tab and click on sysprep

12.Spat starts working (About 1 or 2 minutes) then when the job is finished,it's
window will be closed.wait about 1 minute,then shut Down computer.

13.At this time your C: drive is ready to get ghost image of that.So Boot your
computer by 3rd party,get ghost image of drive C: and put it some where for
example in D:\My Ghost\

Now every thing are finished,and if you apply this ghost image to drive C: of
any computer,in 1st boot you will have mini setup proccess (about 10 minutes)
and when it is finished ,you will see that it works in all computers and also
all or some of drivers of that computer is installed automatically.This is because
we have used SkyDriver that has many of drivers inside itself in 7zip format (the
size of 7ziped drivers is 161 MB and extracted drivers are about 1.07 GB).

Now If you boot your computer normally,you will have 10 minutes of mini setup
proccess,then you can use you ready windows.this is the same proccess that you
will have if you apply ghost image to another computer.The only difference is
this that in some computers you will not need to install drivers and in some
else you may need to install one or more drivers


I tested this project with 7 different computers by different hardwares all was OK.
==================================================

hope will be some help

Note that spat 6 is password protected and password is:
gostep.info